
The calendar capabilities of Percussion CMS allow you to promote workshops, webinars, classes, or any date driven event using the Calendar Widget. Your site visitors can scroll through the calendar, hover over any event for a quick summary, or click the event listing to find out more on the event landing page.
Creating a calendar involves creating a page or template with a calendar widget and then creating pages that will be displayed as events on the calendar. Calendars are automatically created as shared assets.
Note: Despite its title, assets created using the Events Widget do not automatically create events on a calendar.
The Calendar Widget now shares the content configuration form with the new Calendar 2.0 Widget. As a result, the Google Calendar Setup fields will appear on both widgets when creating and editing the content settings. However, only Calendar 2.0 supports this new feature. Please review the Calendar 2.0 documentation for more information: Calendar 2.0 Widget
Define your calendar
When creating a calendar, you have two display choices -- a full calendar or a mini calendar. A mini calendar can be linked to a full calendar so that you can ensure the two are synchronized. By using the same calendar asset, when an event page is added to the calendar it will be associated with both the mini and full calendar. Full calendar widgets in Percussion are not responsive and therefore do not display well on a mobile device.
Note: You do not need a full calendar to have a mini calendar, however, in order for the mini calendar to link to events, it should be integrated with a full calendar.
Use the following steps to create a full calendar:
1) Create a new page to display your calendar.
2) Open the Layout tab, select the Calendar widget.
![]()
3) Select the configure icon to edit the calendar widget properties. Select the Calendar View to be Full Calendar.

4) Click OK to save and close the configure widget properties window.
5) Click Save to save the Layout.
6) Open the Content tab, select the edit icon to edit the calendar widget content.

7) Enter the Calendar title and name.
8) Click Save to save your changes.
A shared calendar asset will be created in the Assets library under calendars. If you are creating a mini version of the calendar also, the mini calendar should use the same asset as the full calendar. By using the same shared asset, when an event page is added to the calendar it will be associated with both the mini and full calendar.

9) In the Content tab, when you open the configuration settings and scroll down you will now see two additional sections. Under Meta-data you will see the calendar's Folder Path, and under Site Impact you will see which Pages and Templates are using this calendar. You can also use the Actions button to jump quickly to a page in the Finder window or open up a preview.

To create a mini calendar:
1) Create a new page to display your calendar.
2) Open the Layout tab, select the calendar widget.
3) Select the configure icon to edit the calendar widget properties.
4) Choose Mini calendar for the calendar view.
5) Click OK to save and close the configure widget properties window.
6) Click Save to save the Layout.
8) From the Assets library, under the calendars folder, drag and drop the same calendar asset you created for the full calendar onto the calendar widget.
Create Calendar Events
To add an event to the calendar:
1) Create a new page to capture details about your event.
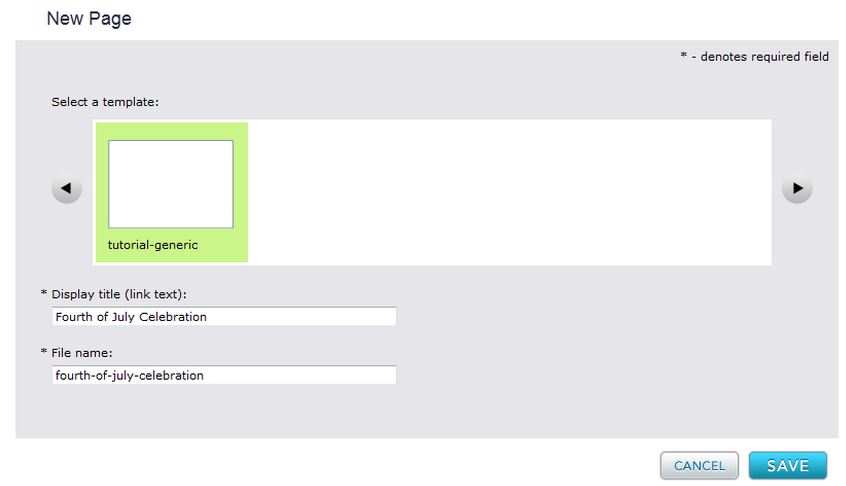
2) Under Content tab, edit the meta-data.
3) Expand the Calendar option.

4) Choose a calendar.
5) Enter a start and end date for the event.
6) Click OK to save.
7) Add a rich text widget to your page to display details about your event.
The calendar will display the event and will provide a link to open it.
Widget Style Properties
CSS Root Class - A text box in which you can enter a CSS class that you want to apply to the rendered content. Your site designer can provide you with the class name. This can be configured from the Template's Style tab and editing the widget's properties from here.