Comments Widget
You may want to give Web viewers the ability to comment on articles or blog entries on a page. To do this, you add:
- A Comments Form Widget that the reader can submit with a comment.
- A Comments Widget that shows the comments related to a specific article or blog.
In addition, from the Dashboard you can moderate user comments. From this gadget you can moderate comments (determine whether or not to publish them) or view all of your Web site's comments.
To use comments:
- In the Design Manager open the template where comments will be added.
- On the Layout tab, drag and drop a Comments Form widget onto the template. Since comment forms often appear under the text being commenting on, place the Comments Form widget under the Rich Text widget or applicable widget.
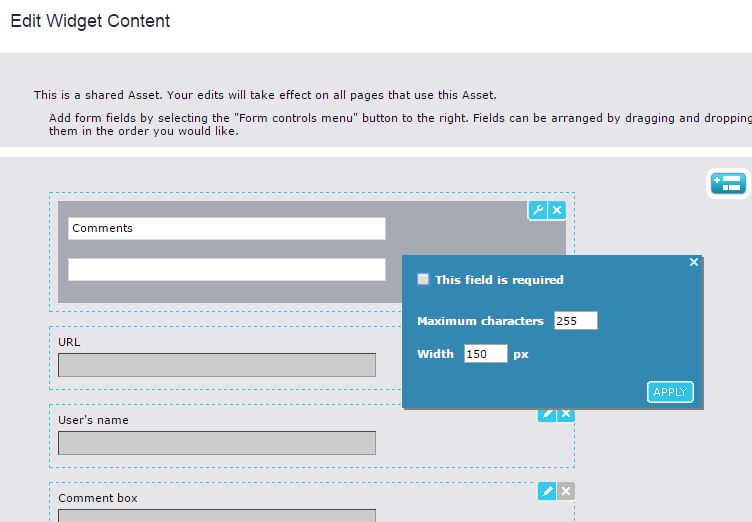
- Configure the Widget by clicking the wrench icon. You can add, remove or rename fields, as well as making them required, setting the width and maximum allowed characters:

- To display your reader's comments or enable them to have a discussion, also include a Comments widget.
- On the Content tab, configure the data you want to capture from users submitting comments by bring the Comments Form Widget to edit mode.
- Name, email and comment will always be displayed as required fields. However, you can remove these fields from the comment form if you do not want to capture these as required fields.
Stopping Comment Spam
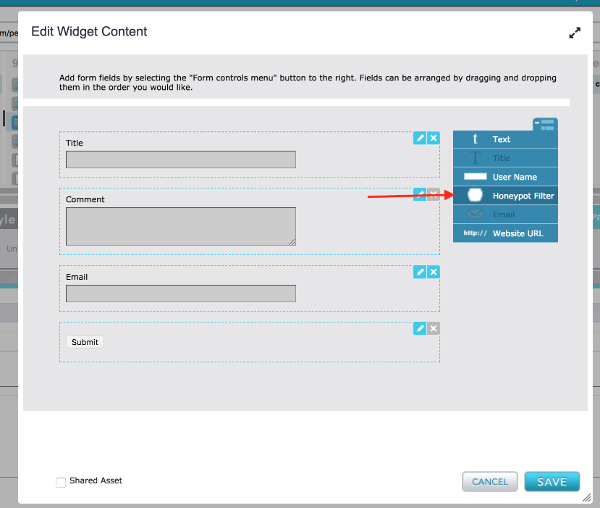
Comment spam can be controlled by both Comment Moderation with the Comments's Gadget and by adding a "Honeypot" field to your comment form while on the Content tab of the Page or Template editor.

The Honeypot generates a hidden fields that a human being wouldn't see, but spam robots that crawl the internet for forms to post on do see, and when they complete data in that field, the comment will be rejected by the system.
