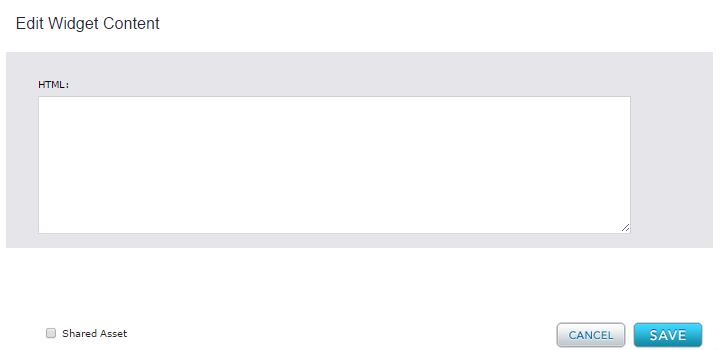
HTML Widget
The HTML Widget allows you to place your own HTML content fragment directly into a page. While other Percussion Widgets generate HTML based on the content you enter, the HTML Widget allows you to directly enter HTML, or paste in HTML from local or third party sources. When the page is rendered, the HTML fragment is also rendered. Note that the page already has <!DOCTYPE>, <HTML>, <BODY>, and <HEAD> tags, so your HTML fragment should not include these tags or it may not render.
You can use this widget in a variety of ways. Here are a few examples:
- To include a form that you configure in another application, for example, a lead generation form configured in Hubspot or Marketo.
- To add special effects, such as those included in a YouTube media player, that the Rich Text widget does not support. (First, test your code in the Rich Text widget, since it does support many special effects, including various media players).
- To use an application framework, such as the jQuery Image Gallery, to create a custom widget to include in a page.
Note: Some widget configuration applications give you two separate pieces of source code: one piece usually includes references to javascript or css files; the other piece includes the main body of the widget. Copy and paste the code that represents the main body of the widget into the HTML widget. Copy and paste the code that references javascript or css files into the Additional Head Content field of the page's meta-data.
Creating Managed Links in an HTML Widget
Users have the ability to create managed links in an HTML Widget for <a href> and <img> tags. The benefit of this is that assets or pages can be moved without the fear of broken links on the pages that use them. Once a link is managed in Percussion, a page can be moved or renamed and the link will remain intact pointing to the correct object.
To create a managed link:
1. Open an HTML widget
2. Identify the link text
3. Create the link, inserting the perc-managed attribute as shown below:
<a href="/Sites/Sample/folder-name/page-name" perc-managed="true">Link text</a>
Once you save the HTML widget, the system will process the link and assign it an ID so that the next time you view the link it will display as follows:
<a href="/Sites/Sample/folder-name/page-name" perc-managed="true"
perc-linkid="123">Link text</a>
Then as you move your pages around, the links will remain intact.
If the link contains an anchor tag, simply keep the anchor tag within the link quotes as shown here:
<a href="/Sites/Sample/folder-name/page-name#anchor" perc-managed="true"
perc-linkid="123">Link text to anchor</a>
Editing a Managed Link
If you need to edit a managed link you can change the href path, and remove the perc-linkid:
<a href="/Sites/Sample/folder-name/NEW-page-name" perc-managed="true">Link text</a>
Once you save the HTML widget a new **perc-linkid** will be added. Also, make sure the new page or asset is approved and published.
Note: Percussion has made it such that if there are no managed links in a given HTML widgets, any server-side code is ignored. If a customer wishes to have managed links in an HTML widget with server-side code, the customer will need to surround their custom code with <PRESERVE> tags.
Example:
In the example below, there are two Managed links in an HTML widget in an unordered list. Following the list is some server side code that has been wrapped with the <PRESERVE> tags.
<ul>
<li><a href="/Sites/www.samples.com/webworks/products/index.jsp" perc-managed="true" perc-linkid="166674">Products</a></li>
<li><a href="/Sites/www.samples.com/webworks/coming.jsp" perc-managed="true" perc-linkid="166675">Solutions</a></li>
</ul>
<PRESERVE>
<?php
Print "Hello, World!";?>
</PRESERVE>
This will ensure that the Percussion code that manages the managed links does not interfere or modify the customer server-side code.
NOTE: To test the PHP code you may need to add a ".php" extension to your file name to see the PHP code. You can do this when editing the page content by selecting Action -> Edit Meta-Data to change the file name.

